Connect Android Studio Emulator on Windows to Your Kali Linux

This guide will help you establish a connection between your Android Studio Emulator running on Windows and your Kali Linux environment. This setup is ideal for mobile penetration testing, especially when running Android Studio directly on Linux is not feasible due to CPU virtualization issues or resource constraints.
Introduction
Many researchers face issues running Android emulators inside a Virtual Machine (like VMware or VirtualBox) because of nested virtualization limitations. A better approach is to run the emulator natively on Windows and connect it to your Kali Linux guest.
I assume you already have Android Studio installed on Windows and a Kali Linux VM ready. In this guide, I will use a Pixel 5 emulator and Kali on VMware.
Step 1: Run Android Emulator from CMD (Optional)
To launch your emulator directly from the command line without opening Android Studio:
- Navigate to the SDK emulator directory:
C:\Users\<your_username>\AppData\Local\Android\Sdk\emulator\. - Add this path to your System Environment Variables (Path) so you can run
emulatorfrom anywhere.

- List your available emulators:
1
emulator -list-avds
- Run your emulator:
1
emulator @Pixel_5

Step 2: Configure Network Settings
For the two systems to communicate, your Kali Linux VM must be able to reach your Windows host IP.
In VMware/VirtualBox settings, change the Network Adapter for Kali Linux to Bridged.
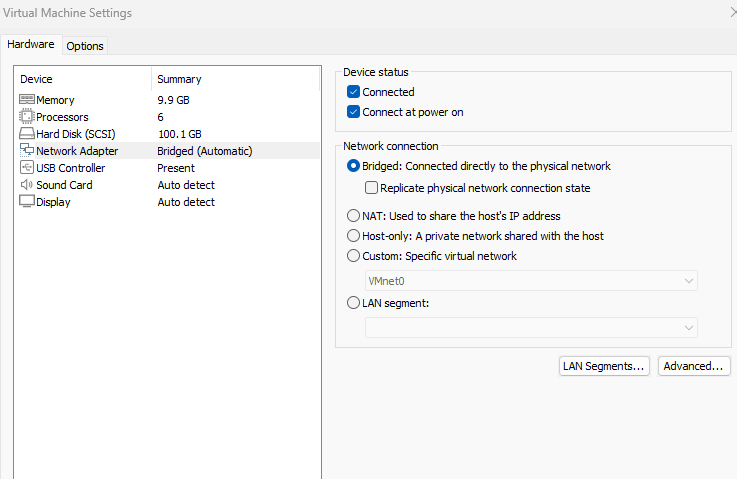
Identify your Windows Host IP address (e.g.,
192.168.1.4) usingipconfigin CMD.

Step 3: Configure ADB on Kali Linux
Now, we need to tell the ADB client in Kali to look for the server on your Windows host.
- Open the terminal in Kali Linux.
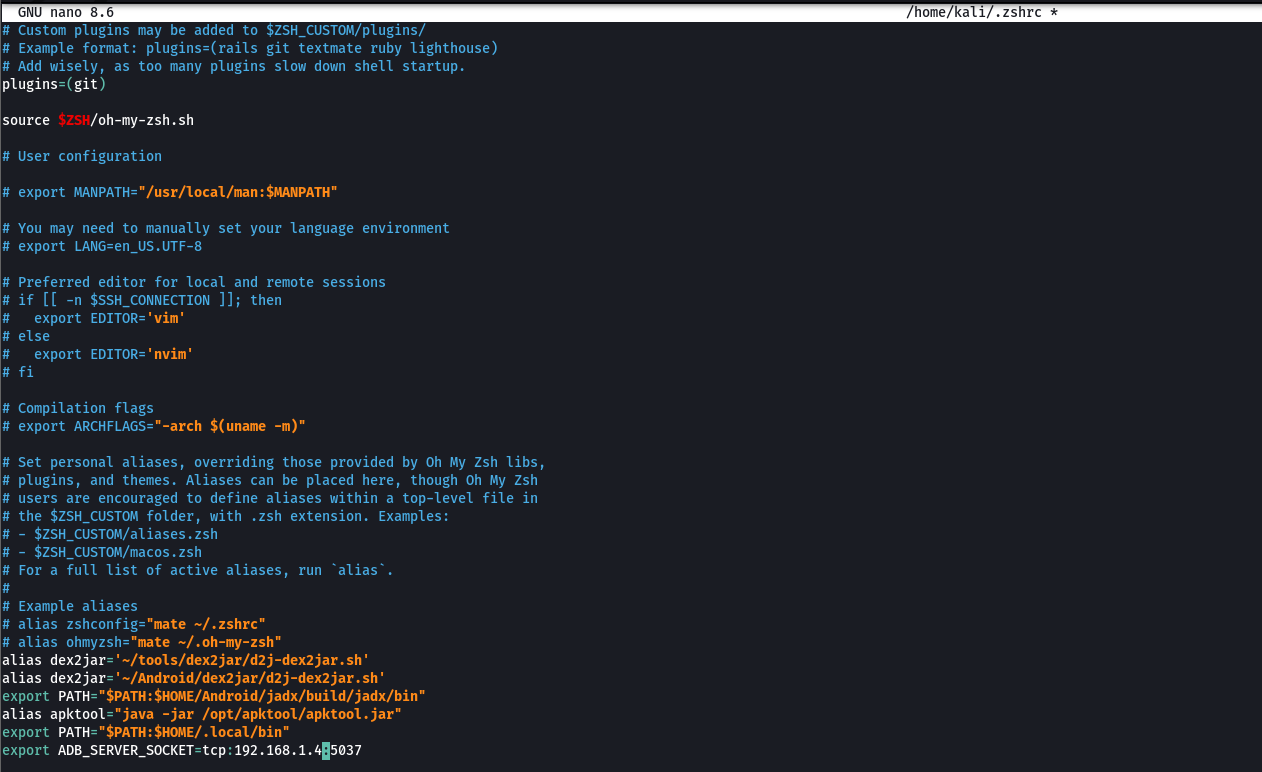
- Edit your shell configuration file:
1
nano ~/.zshrc
- Add the following line at the end of the file (replace with your Windows IP):
1
export ADB_SERVER_SOCKET="tcp:192.168.1.4:5037"
- Apply the changes:
1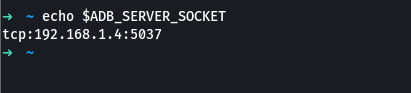
source ~/.zshrc - Verify the variable is set:
1
echo $ADB_SERVER_SOCKET
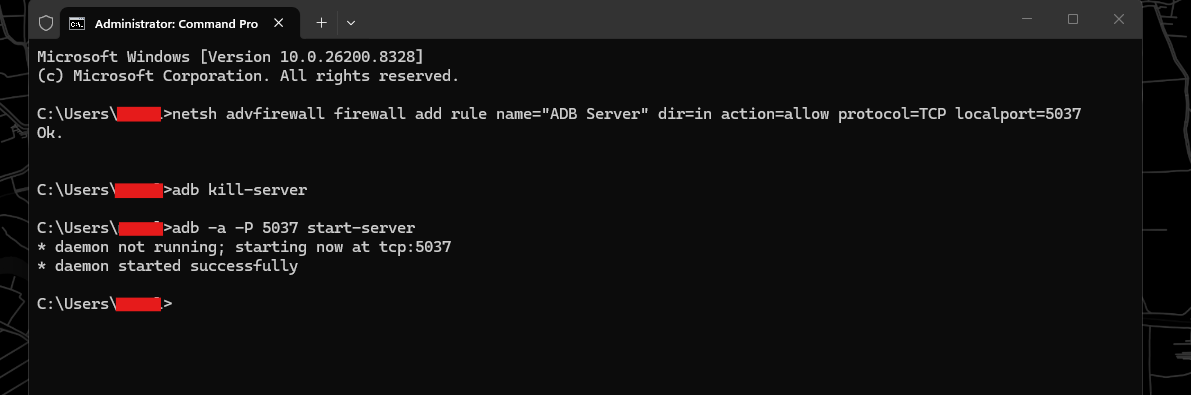
Step 4: Fix Connection Issues (Windows Firewall)
By default, Windows might block the incoming connection from Kali to the ADB port (5037). 
- Open Command Prompt as Administrator on Windows.
- Add a firewall rule to allow port 5037:
1
netsh advfirewall firewall add rule name="ADB Server" dir=in action=allow protocol=TCP localport=5037
- Restart the ADB server on Windows and force it to listen on all interfaces:
1
2
adb kill-server
adb -a -P 5037 start-server
The
-aflag is critical as it allows the server to accept connections from other IP addresses.
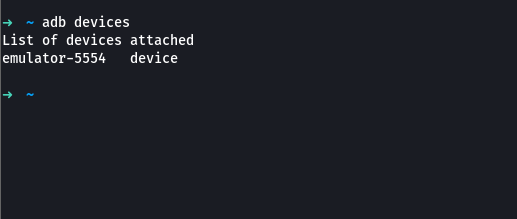
Step 5: Verify the Connection
Finally, go back to your Kali Linux terminal and run:
1
adb devices
If everything is configured correctly, your Windows emulator will appear in the list!
Now you can start your mobile pentesting session seamlessly.